

Plant Care
Getting Started with Your VerdiPot
A practical introduction to the wick, reservoir and ventilated structure, with a clear distinction between tabletop and wall-mounted designs.

A good place to begin is with the parts you can see. VerdiPot uses a wick to connect stored water with the potting mix, alongside openings that allow air into the planter’s structure. Once you know where those parts are, everyday care becomes easier to understand.
The first distinction is between tabletop and wall-mounted designs. They share an approach to water and airflow, but they are not assembled in the same way.
First, identify your planter
Signature and Essential tabletop planters have a separate air-pruning inner pot. Luxe uses the Air Pruning Inner Pot Pro with a glass reservoir and an Easy Fill opening. The reservoir and exterior fit together differently across designs, so use the setup images for your particular planter rather than forcing every model through the same assembly steps.
Our wall planters take a more compact approach: they do not have a separate inner pot. The planting area and built-in reservoir sit within the wall-mounted body. For these designs, start with our wall-planter guide.
Setting up a tabletop planter
1. Plant into the inner pot
Use the supplied inner pot as the planting container, with potting mix suited to your plant. It is not simply a holder for a second nursery pot. Keep the wick positioned as shown in the product’s setup images, with contact in the potting mix and a section reaching the reservoir.
Check the inner pot’s dimensions before repotting. A planter’s sculptural exterior can be considerably wider than the space available to the roots.
2. Identify and fill the reservoir
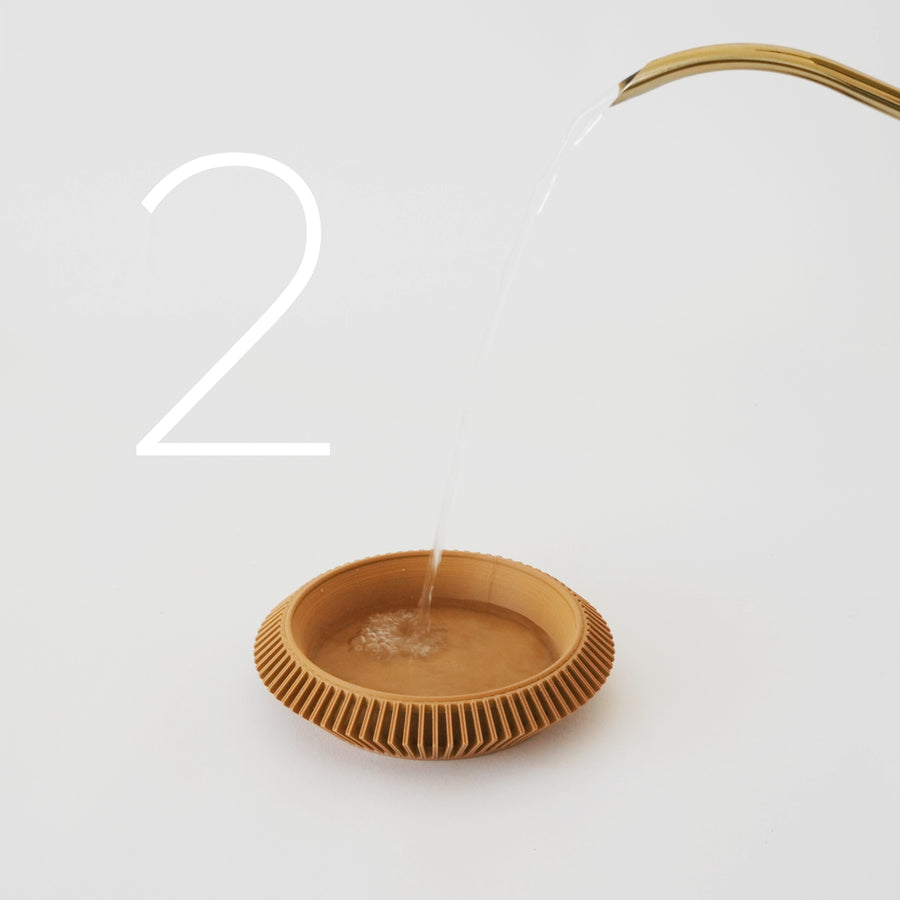
The reservoir is the water-storage part of the planter, not the planting chamber. On designs with a separate reservoir base, fill and assemble it following the model’s setup sequence. Luxe provides an Easy Fill opening for access to its glass reservoir.
Do not use the ventilation slots as filling points. Keep potting mix out of the reservoir and its access opening, and use the model’s filling guidance rather than filling the entire body with water.
3. Bring the parts together
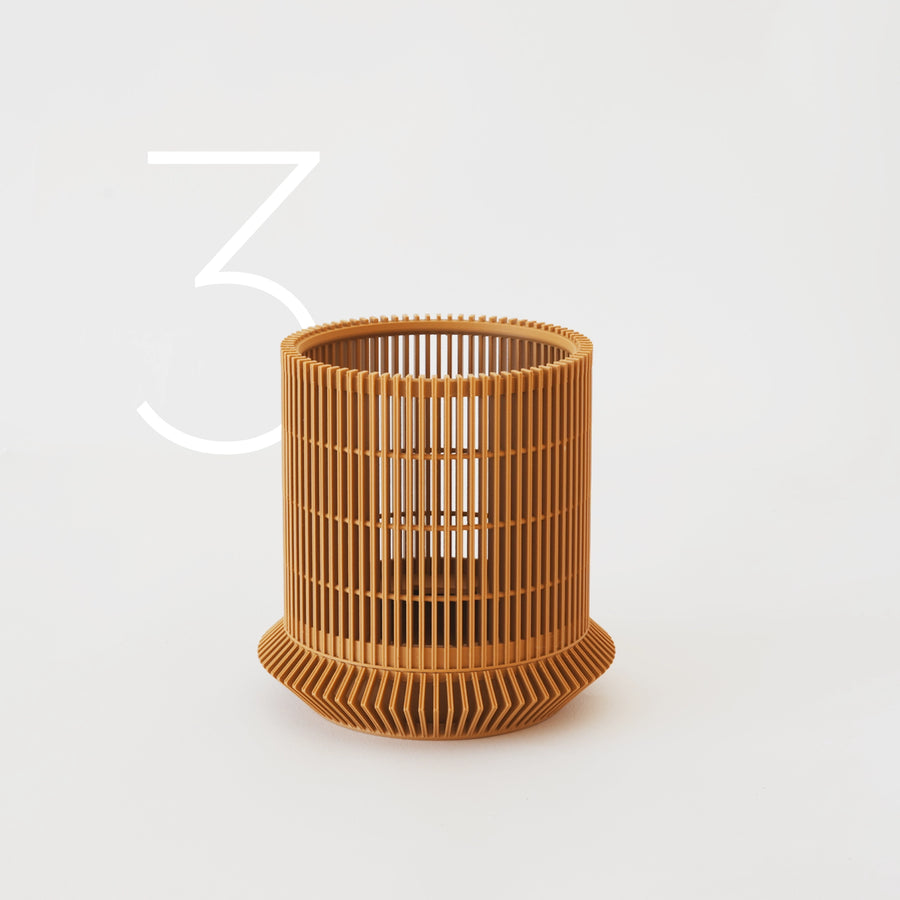
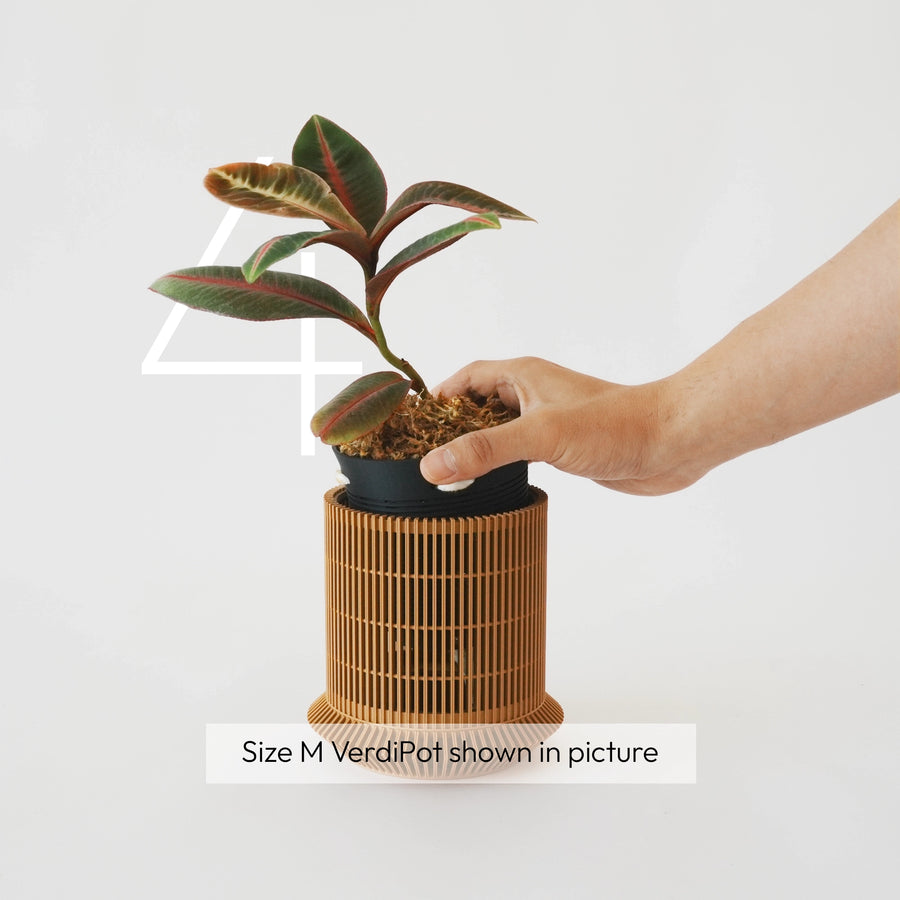
Where the exterior sits on a separate base, place those parts together before inserting the planted inner pot. Other designs already have an integrated reservoir arrangement and do not need that step.
Lower the inner pot gently into position. Check that the wick can reach the stored water and has not become trapped outside the reservoir. Leave the exterior’s ventilation openings unobstructed.
Learn your plant’s rhythm
The reservoir gives you another place to observe water use, but it does not replace checking the potting mix. During the first few weeks, notice how moisture changes between refills and how the plant responds in its chosen position.
Houseplant watering needs vary with the growing conditions; a fixed weekly watering schedule is not a reliable rule for every plant. University of Maryland Extension’s watering guide explains why moisture checks matter more than watering by the calendar.
Check both the reservoir and the mix before adding more water. A visible water level tells you what is stored; it does not, by itself, tell you whether your plant needs a refill.
Keep the setup simple
Use the correct planting space, keep the wick in contact with water and mix, and leave room for air. There is no need to add an improvised liner or cover the ventilation openings.
For help with a particular setup, send a photo and the planter’s name and size to support@verdipot.com. A picture of the inside is often more useful than a description alone.